Dokploy
I personally recommend using Dokploy to deploy Mkdirs, because it’s much easier to setup the whole thing and you get the automatic CI/CD pipeline like Vercel out of the box.
Deploy on Dokploy
-
Create a new project on Dokploy
Click on the
Create projectbutton and set the project name and description. -
Create an application in the project
Click on the
Create servicesbutton and selectApplication, then set the application name and description. -
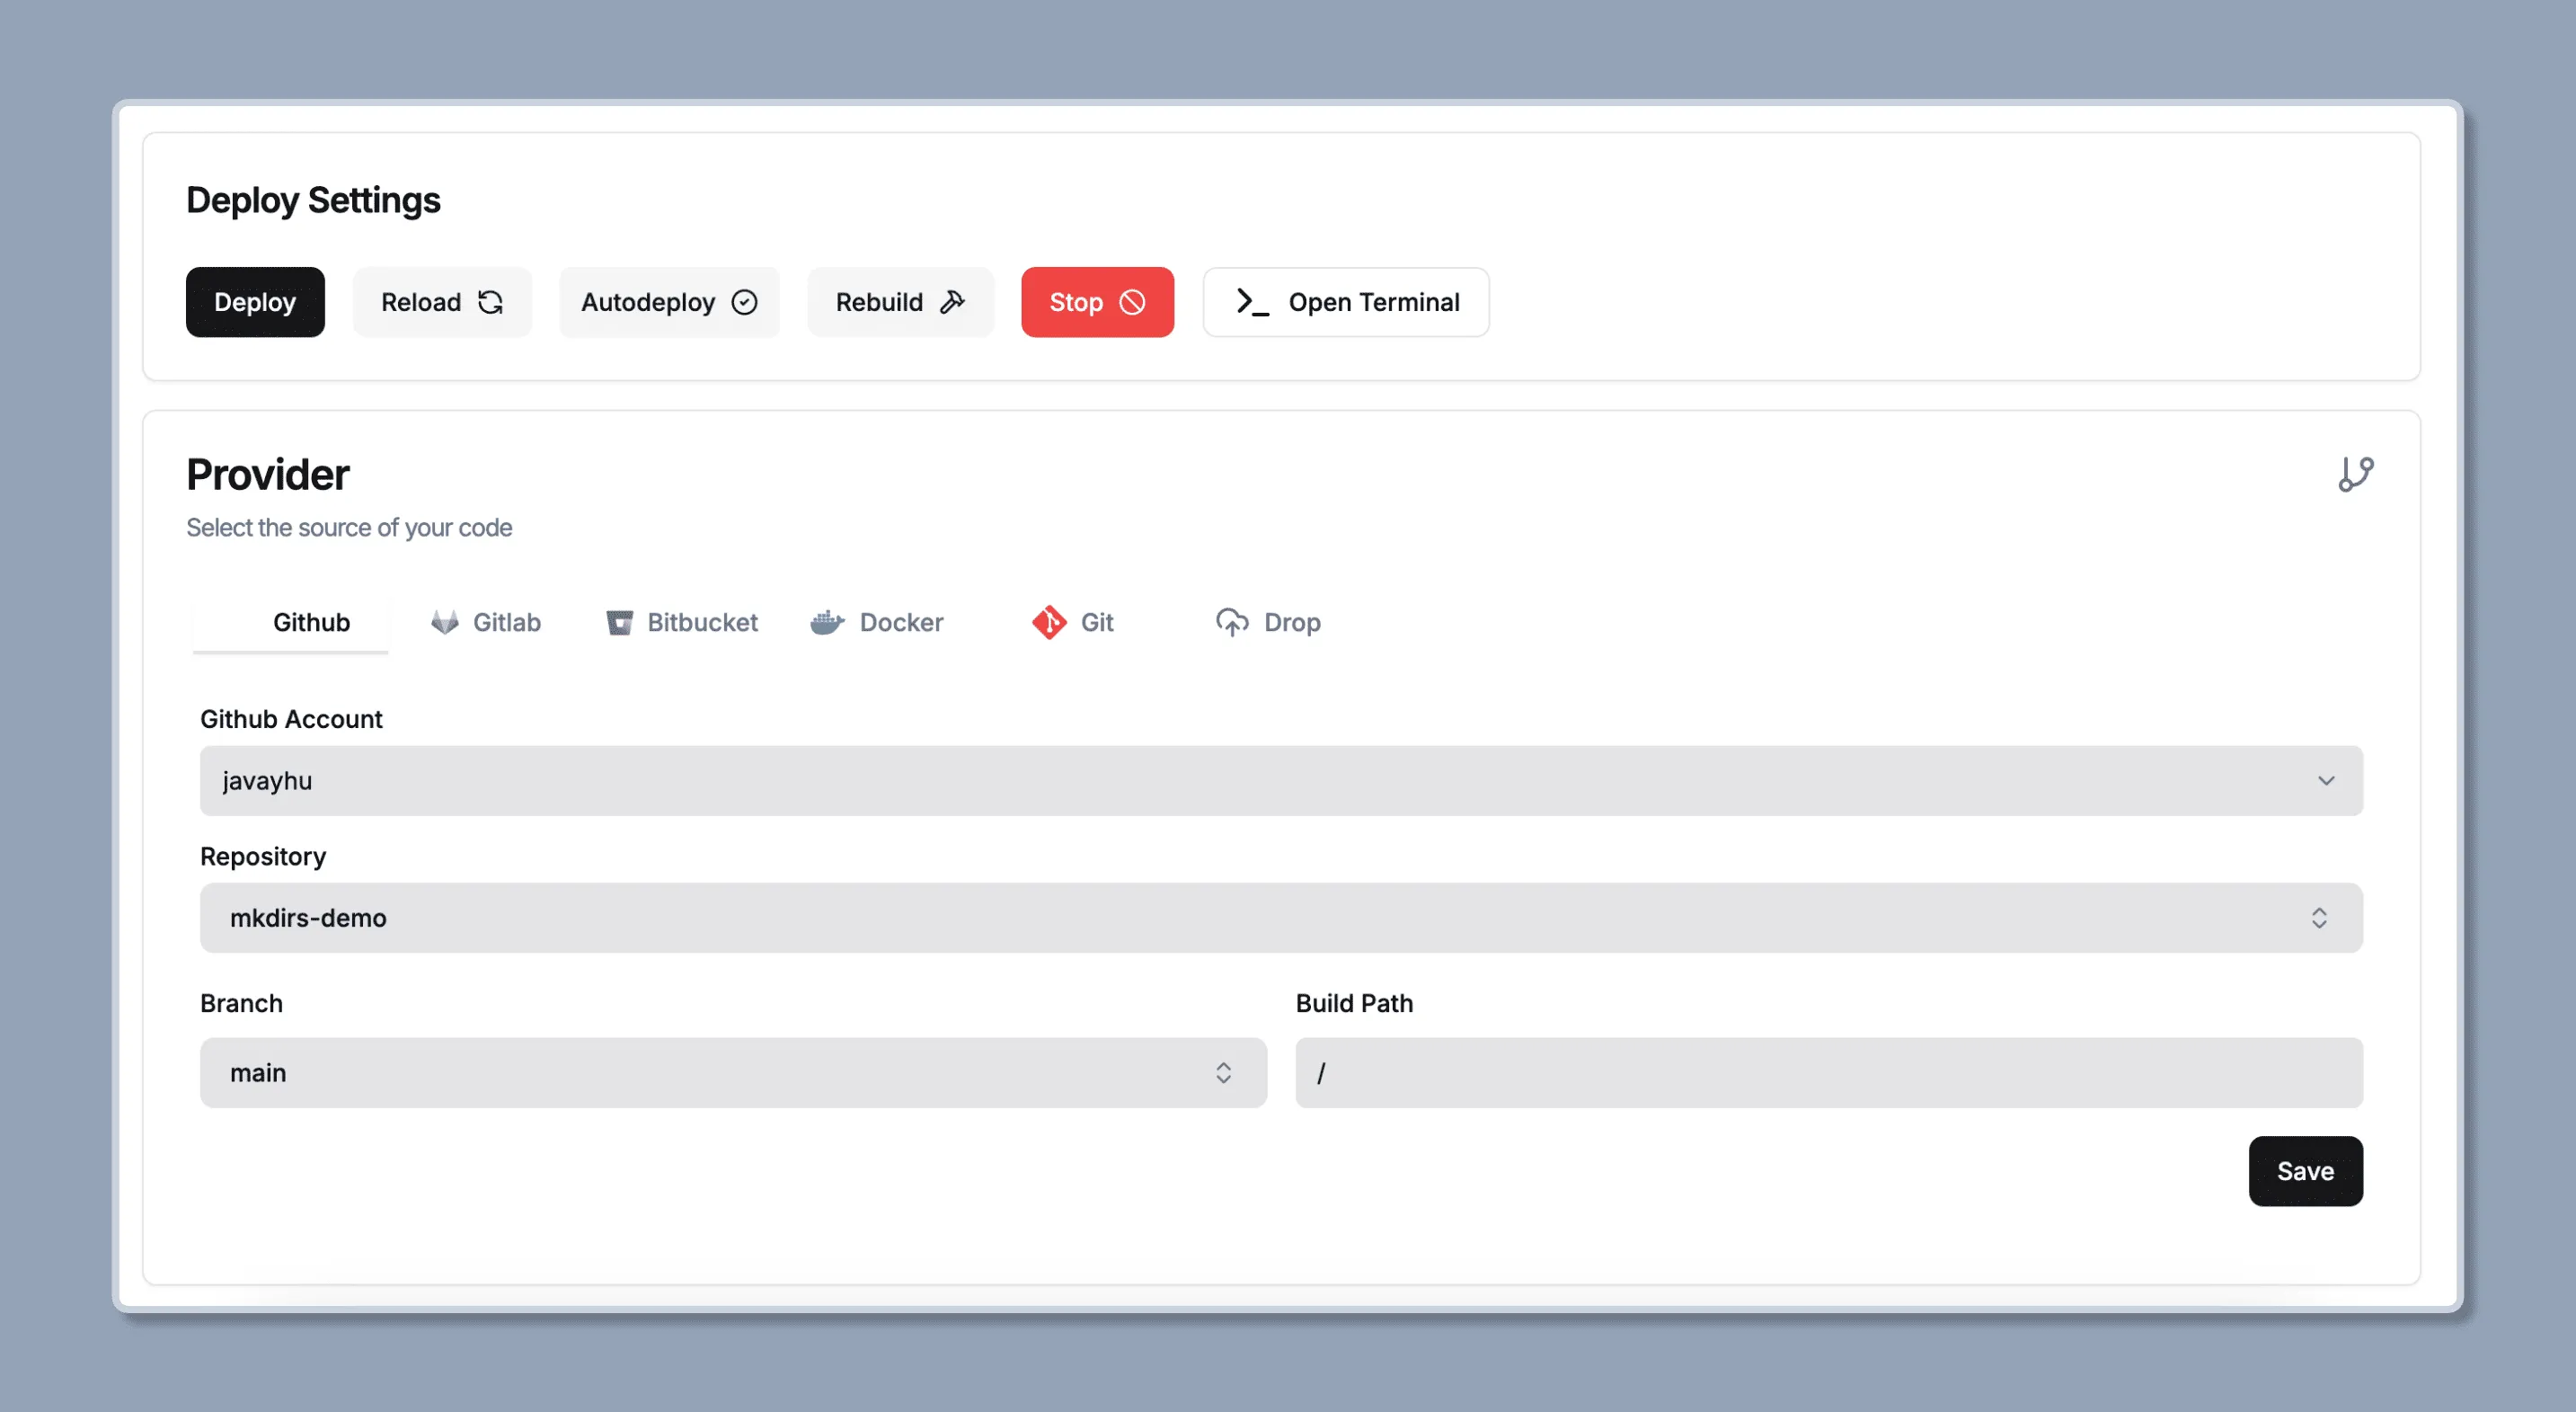
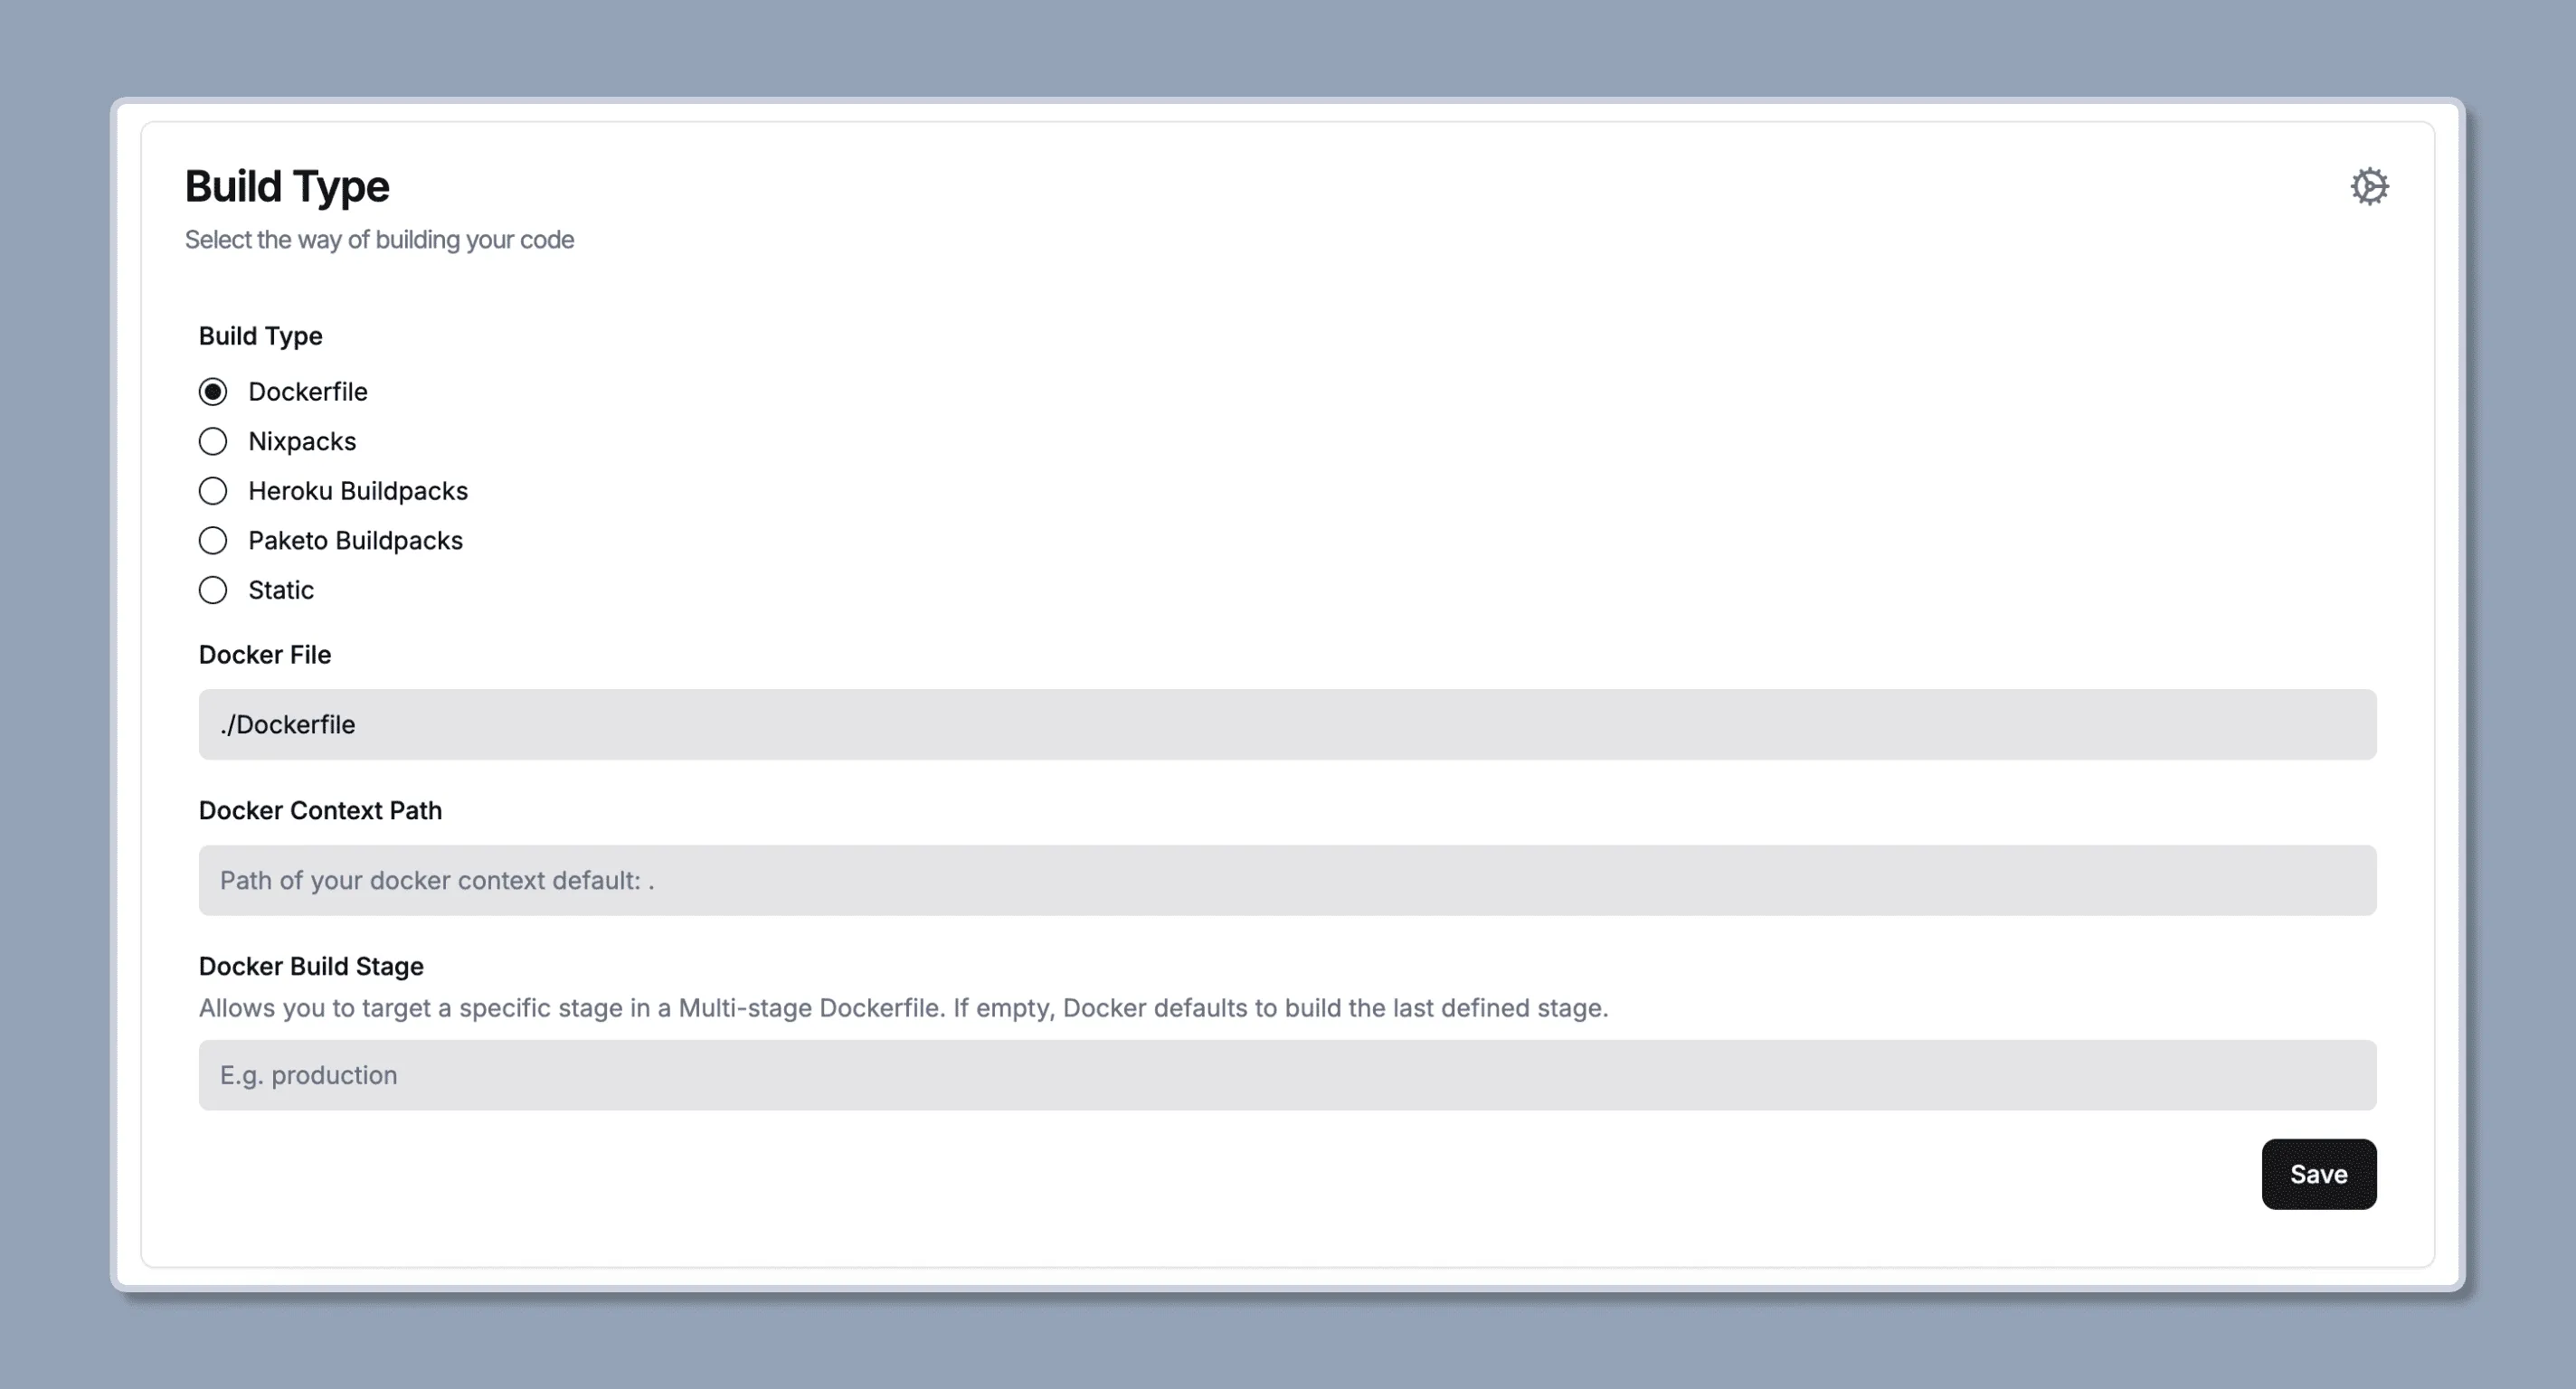
Set the source code and build type
Set the source code to the repository, and set the build type to Dockerfile.


-
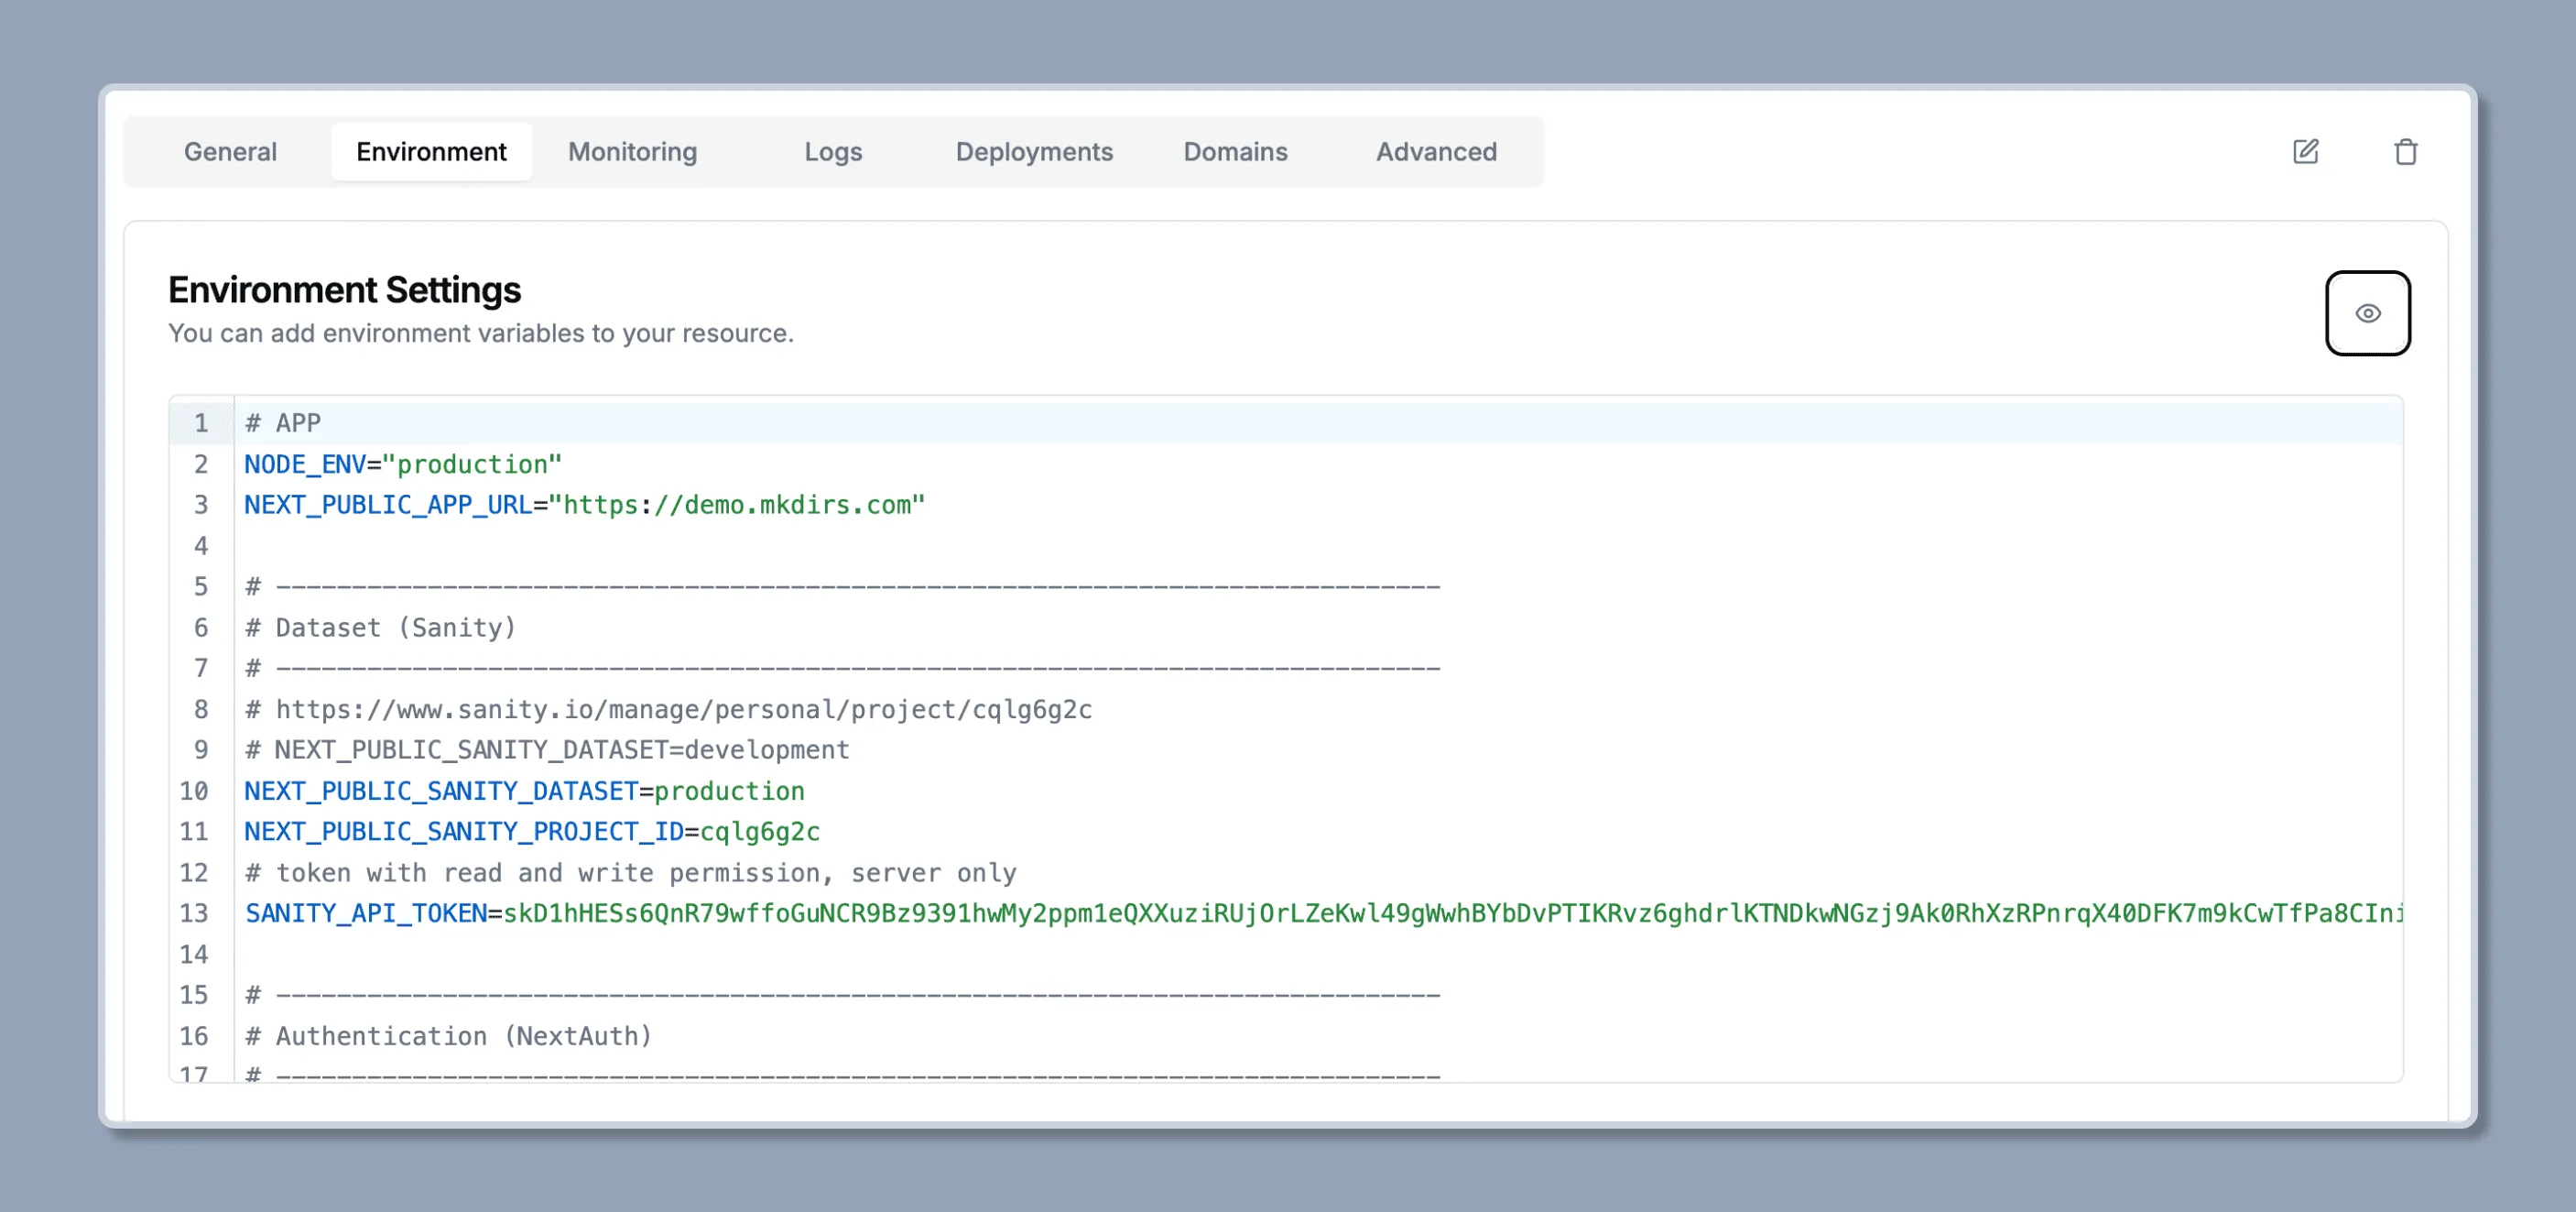
Set the environment variables
Copy the content from the
.envfile and paste them in environment settings.
-
Start to deploy
Click on
Deployand wait for the deployment to finish.
-
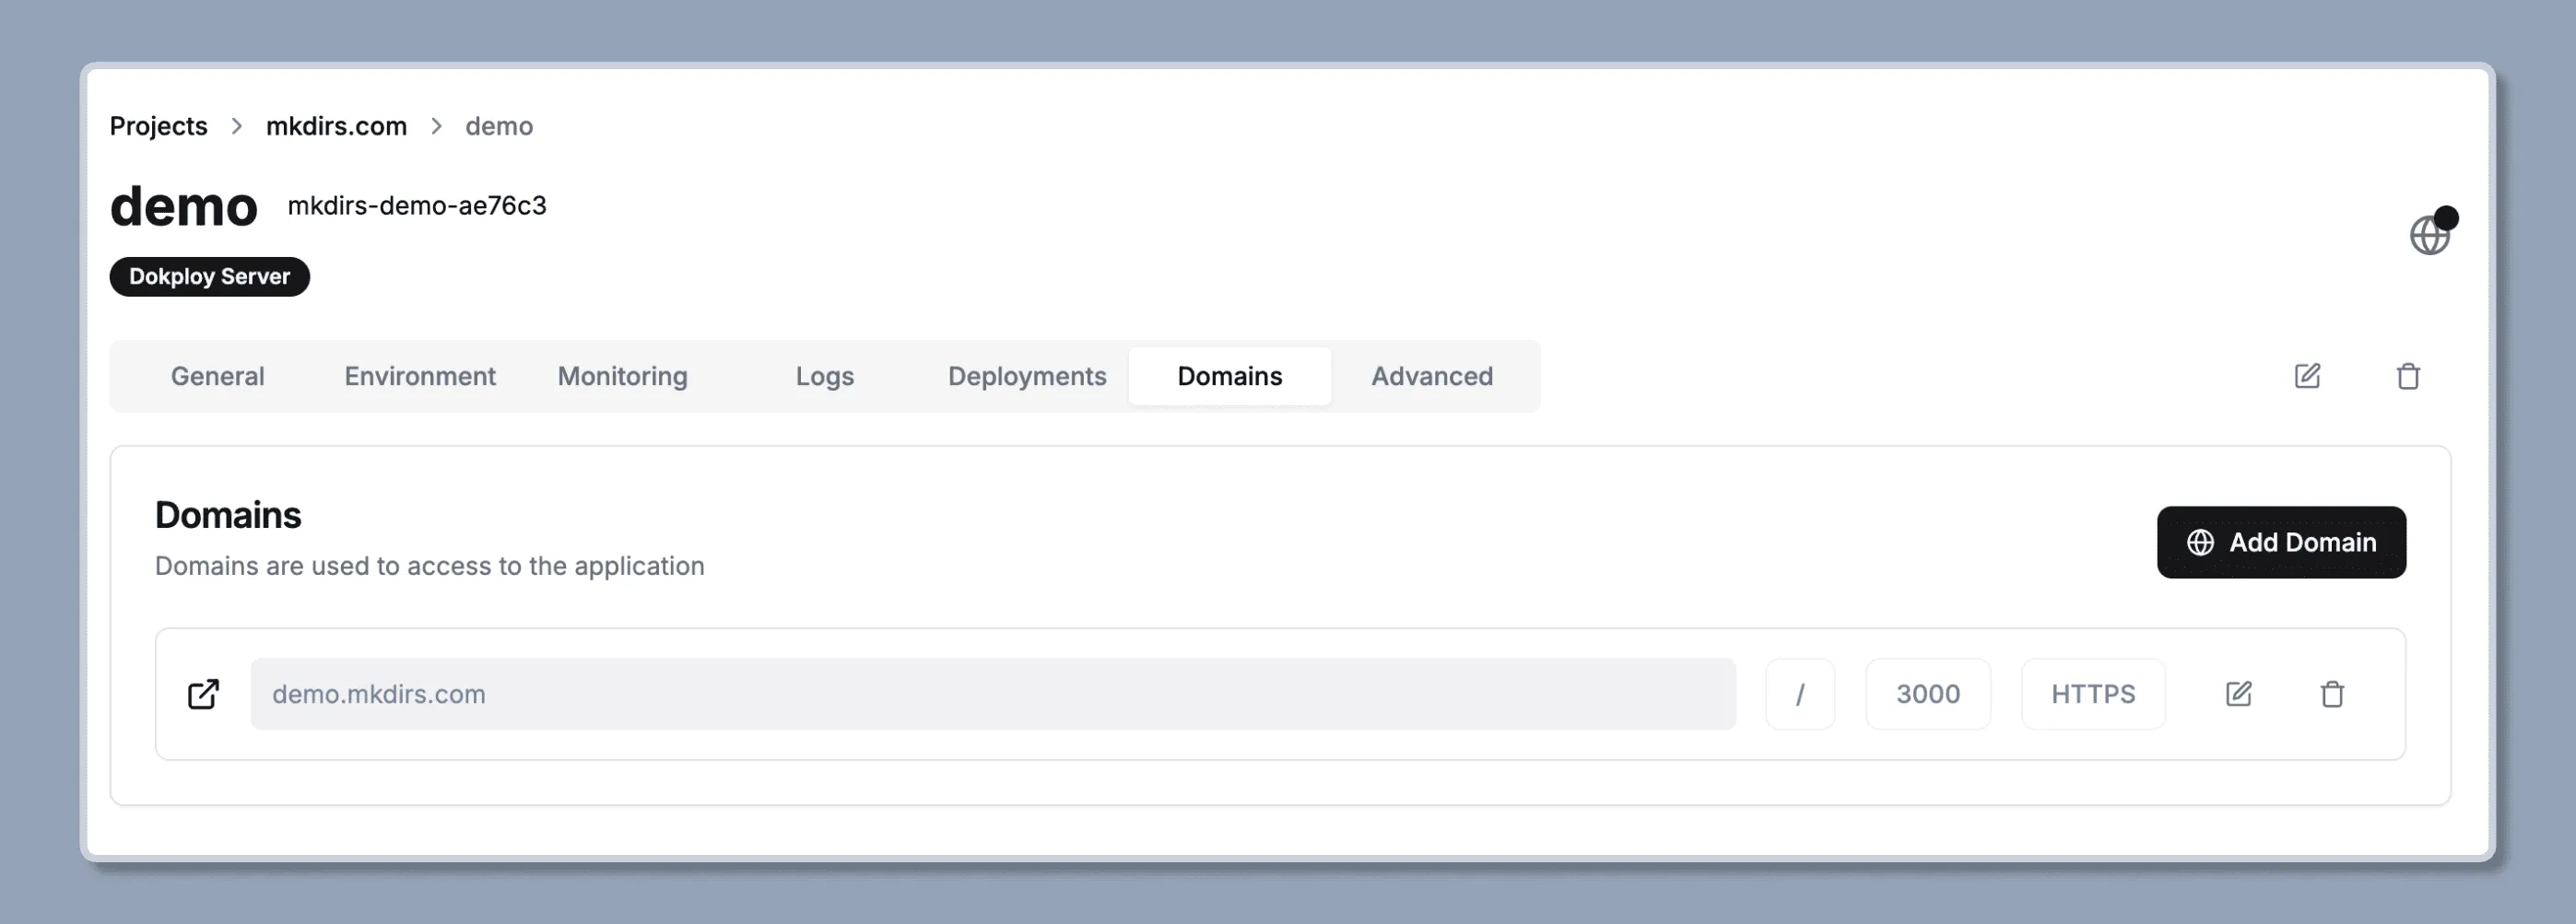
Set the domain
Add the domain you want to use, and make sure to check on
HTTPS.
-
Done
Check the application by visiting the domain you set once the deployment is finished.
Video tutorial
There is no video tutorial for the deployment on Dokploy for now, but you can refer to the following video for the introduction of Dokploy Cloud, and learn how to deploy a Next.js application on Dokploy Cloud.
After that, you will know how to deploy your directory on Dokploy by following the steps above.
